
Hall's Bakery shares practical, down-to-earth guidance on home baking, artisan bread and cake recipes for readers across the UK.
- 0123456789
- Angle Bd Abdelmoumen & rue soumaya, Résidence
- [email protected]
Hall's Bakery shares practical, down-to-earth guidance on home baking, artisan bread and cake recipes for readers across the UK.
 By Sophie Bramley
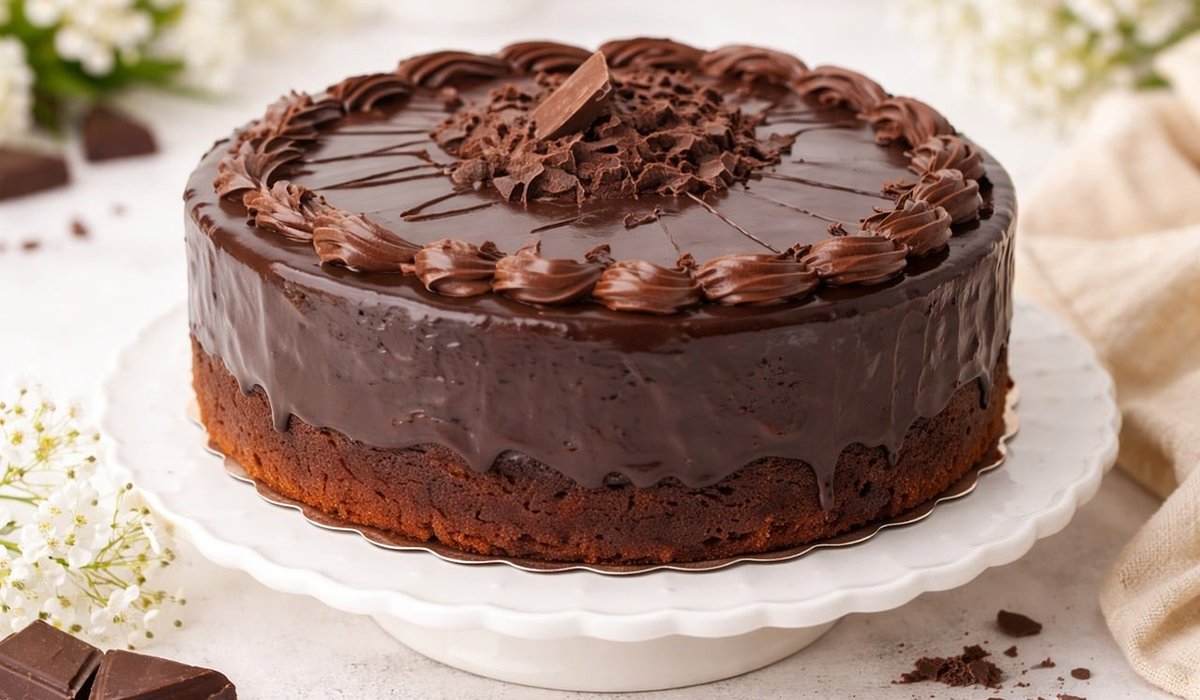
Gluten is the quiet architect of a traditional cake. It gives batter its stretch, traps the air you beat in, and holds the crumb together as the sponge sets. Take it away and replace wheat flour gram for gram with a gluten-free blend, and you lose all three jobs at once. The batter looks slack, the rise is uneven, and the finished cake crumbles at the first cut or turns gluey in the middle.
The good news is that your family recipe is not beyond saving. It simply needs a different kind of support: a blend that behaves consistently, a little more liquid, and a binding agent to stand in for the gluten you have removed. Once you understand those three variables, you can adapt almost any cake in your recipe file with confidence.
Not all gluten-free plain flours are interchangeable, and the differences matter more in baking than in any other kind of cooking. Read the ingredients list before you buy. Blends built mainly on rice flour and starches are gentle and mild, which suits delicate sponges. Blends that include gram, buckwheat or teff bring a stronger, more savoury flavour that can overwhelm a light vanilla cake but works beautifully in a dark fruit loaf.
Mixing your own gives you the most control. A reliable starting point for cakes is:
Always weigh your flour rather than scooping by volume. Gluten-free flours settle and compact differently from wheat, and a cup measure can easily be 20 per cent out. A digital scale in grams removes the guesswork entirely. If your recipe uses self-raising flour, add 2 teaspoons of baking powder and a quarter teaspoon of salt per 150g of plain blend, and use it straight away.
Gluten-free flours are thirsty. They absorb more liquid than wheat and continue to do so as the batter stands, so a mix that looks perfect in the bowl can bake into a dry, tight crumb. Begin by adding 1 to 2 tablespoons of extra liquid per 150g of flour, whether that is milk, buttermilk, soured cream or simply water. Yoghurt and soured cream are especially useful because their acidity also helps the crumb stay tender.
Binding is the second adjustment. Without gluten you need something to hold the structure together:
Whichever you choose, let the batter rest for 20 to 30 minutes before it goes in the tin. This gives the flours time to hydrate fully, and the batter thickens noticeably. Skip this step and you will wonder why your cake sank.
Different cakes need slightly different handling, so treat your recipe as a starting point rather than a fixed script.
Gluten-free cakes tend to brown on top before they are set in the centre. Drop your usual oven temperature by 10 to 15°C and expect the bake to take 10 to 20 per cent longer. If the top is catching, lay a sheet of foil loosely over the tin rather than opening the door repeatedly.
Test for doneness with a skewer inserted into the middle — it should come out with a few moist crumbs, not wet batter. Then leave the cake in its tin for 10 to 15 minutes before turning out, because gluten-free sponges are fragile while hot and will tear if you rush them.
If your first attempt is close but not quite right, these are the usual culprits:
Finally, remember that flavour is your ally. A pinch more salt, a little vanilla, grated lemon zest or a warm spice blend all distract from the slightly different taste of gluten-free flours. Brush warm sponges with a light syrup, or sandwich them with generous buttercream or jam, and nobody at the table will be thinking about what is missing.


We are not gonna make spamming
